Tag Archives: skirt

The Skirt With No Side Seams

Hi!

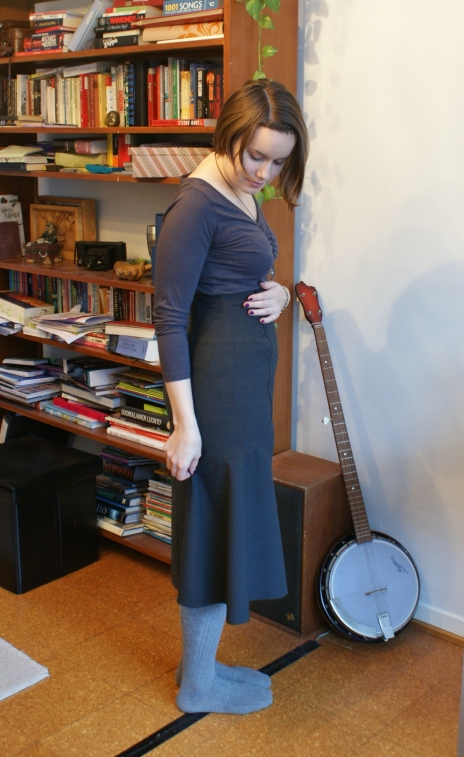
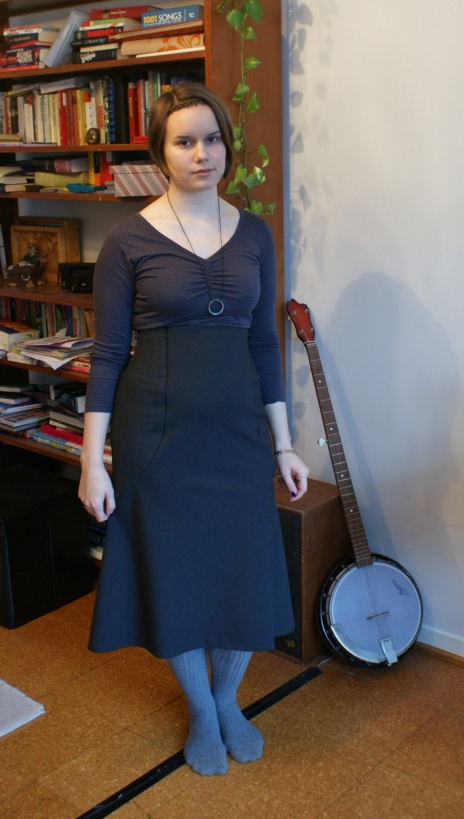
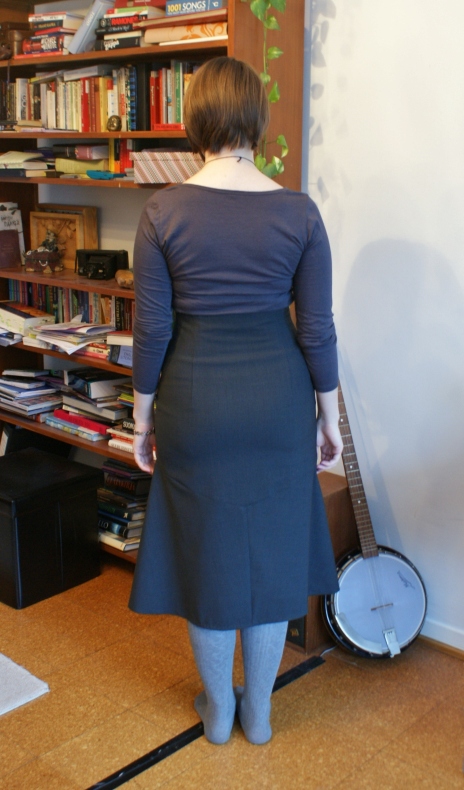
I decided a while ago that it would be cool to draft a skirt pattern with no side seams, just to see what I would come up with. So here you go:

SONY DSC

SONY DSC

The fabric I used was a light-weight wool mix, which had a bit of stretch. It was easy enough to work with until I got to the invisible zipper on the front, which is still a bit bumpy even though I tried my best to stabilize it… but one has to live with one’s fabric choices I guess. It was also a bit hard to iron. There’s a so called “couture high waist facing” set along the waistline (the technique is explained in a book I have called The Dressmaker’s Handbook of Couture Sewing Techniques by Lynda Maynard) which is basically just 10 cm of extra facing strengthened by a layer of organza and “tailor’s canvas” (I used a sort of tough raw cotton) and some rigilene boning. It really helps to keep the waistline smooth, and also helped a bit with the bumpy zipper issue.

SONY DSC   SONY DSC

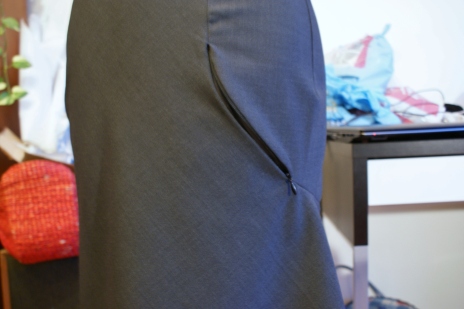
There’s a pocket in one of the front seams, which was a bit of a challenge to make since I’d never done a zippered in-seam pocket before, but I think it looks quite good, at least from the outside (krhm).

SONY DSC

The zipper runs along the other front seam for about 30 cm.

SONY DSC

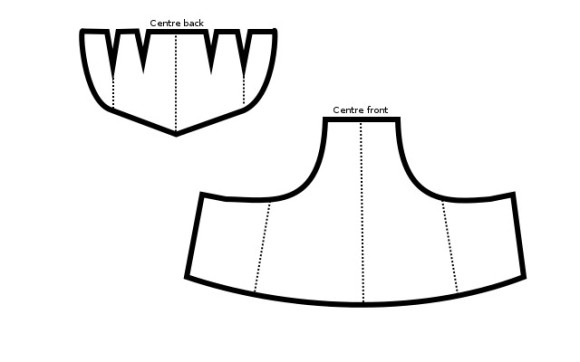
And oh man, the pattern pieces for this skirt! They are strange! I’m actually kind of proud of them being so odd. The smaller one looks a bit like a flower and the bigger one is like a hammer or something. Gotta keep it interesting.

No side seams

— Sadie

Tagged , , , ,

My New Favourite Skirt

Hi!

I’ve been a very bad blogger recently, sorry about that. I mostly blame university, and the fact that I had a phase of uninspiredness (yes, I’m aware that’s not a word) that started sometime in the summer and is only just coming to an end. But now I’m back in business and have a ton of projects planned, so I think I’ll make up for taking such a long break.

The Skirt

The sewing-blog appropriate hipter-pose… or maybe I don’t look melancholic enough to qualify?

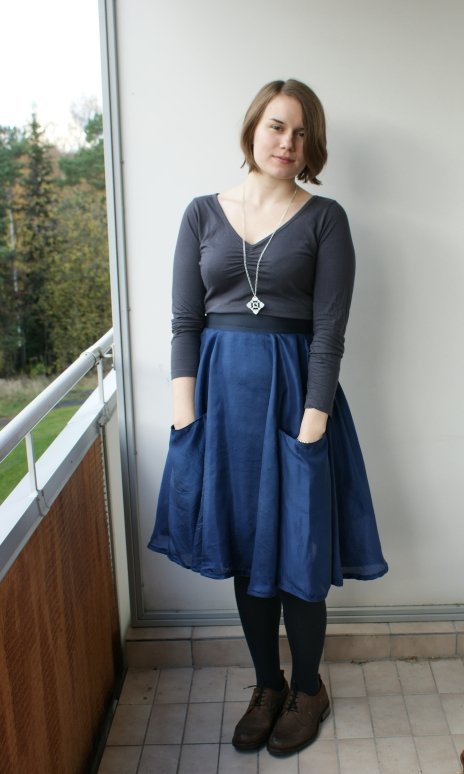
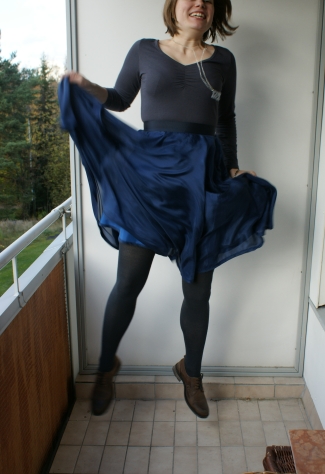
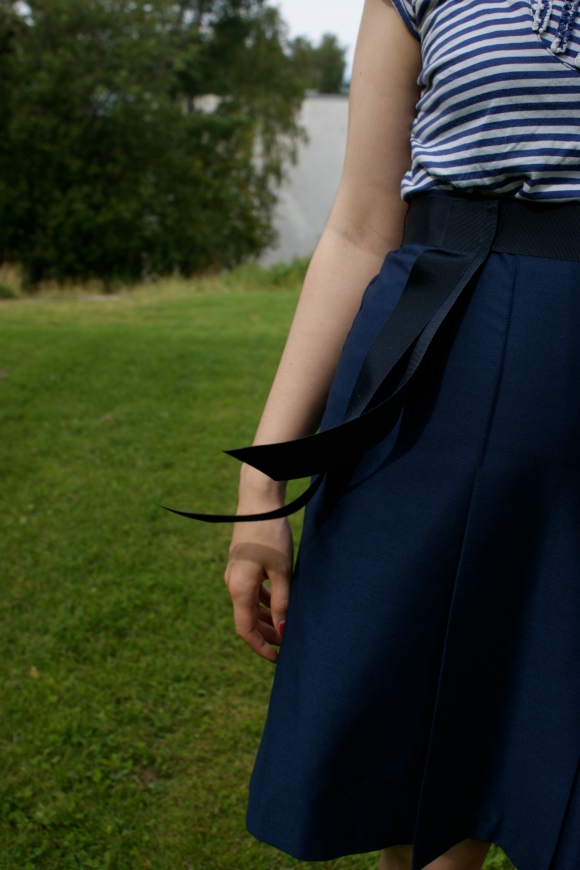
This is basically just a six-gore circle skirt with pockets. Also, it has no side seams — just for fun. The waistband is petersham ribbon. I used the same fabric I made vintagey shirt #1 from. It’s a really hard farbric to work with, I have to say! Thin as hell and doesn’t weigh a thing… It was impossible to keep it still while cutting, so the finished product is a little lopsided.

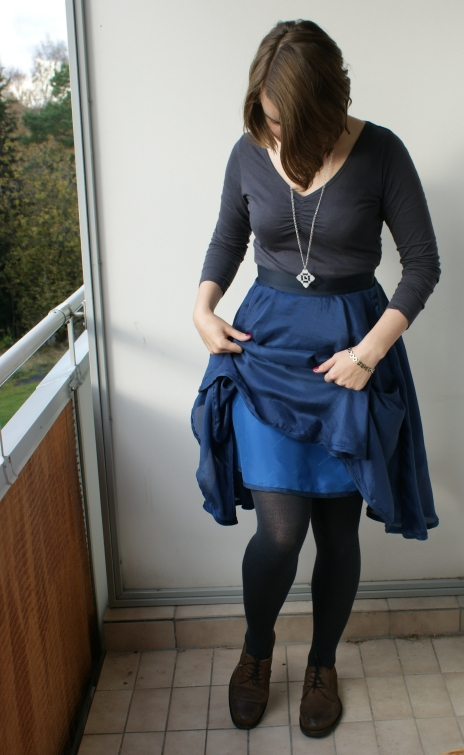
I wore this with  a separate underskirt I made from some leftover lining and some of the bias tape I made from the same blue silk as the skirt. I was thinking I could maybe make a proper 50’s petticoat for this, to make it more festive from time to time.

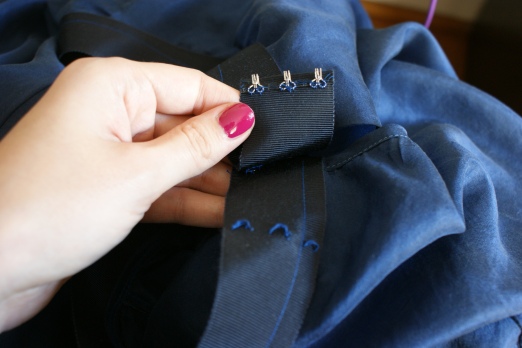
The skirt closes with three hooks and a snap.

Lastly, a sneak peek into crocheting:

It’s just a test piece, but I think it turned out pretty nice (as in you can actually tell there’s a pattern).

I also bought myself a huge set of bamboo crochet needles:

They range from 12mm to 2mm.

Hooray!


Tagged , , , ,

Pleated Skirt

Long time, no post.

I’ve been working full time for a while now, so I haven’t bothered with much sewing/blogging related activities, hence the unintentional break.

But now I’m a part-timer again, so I’ll have time for super-sewing again. Hooray for that!

The Skirt

This is my grumpy fashion model face!

I made this skirt a long time ago, but due to work and other things (read: laziness), Boyfriend and I only took pics of it a few days ago.

It’s made from the same fabric as the Rectangle Skirt in my last post.

I used pattern 121 from Burdastyle 7/07. I like how this pattern sort of puts a twist on the traditional pleated skirt by being asymmetrical with both the pleats and the top-stitching.

Contrary to the instructions I top-stitched all the pleats at the top, since the one that was supposed to be left unstitched refused to stay in place nicely (which tends to happen when you put a relatively tight pleated skirt on a figure that doesn’t resemble a stick).

I also made a petersham belt-thing that closes with a few hooks and eyes, since the ribbon I bought was far too stiff to be tied without looking all weird.

This skirt was also another success story for the invisible zipper foot, which I’ve totally fallen in love with. I added three crocheted belt loops to the skirt to hold the petersham in place, just to keep the option of wearing it without a belt.

My odd but awesome jellyshoes!


Tagged , , , , ,

Rectangle Skirt Tutorial

Tutorial time!

After making the blue silk blouse I posted about last time, I started wondering what else could be made with a similarly (ridiculously) simple pattern.

I came up with this nifty skirt:

In hindsight the outcome would’ve been better with a drapier or stretchier fabric, but… oh well.

As you can see, it’s just a rectangle with ties (I made mine asymmetrical so that the knot wouldn’t be exactly in the centre).

You can tie the straps to the front or to the back, loose or tight, so this is a nicely versatile piece of clothing.
The How-To Part Of The Tutorial

In addition to fabric you’ll need a zipper. The amount of fabric you need and the length of your zipper will depend on your size, but for reference I used about 1,5 m of fabric and a 30 cm invisible zip.

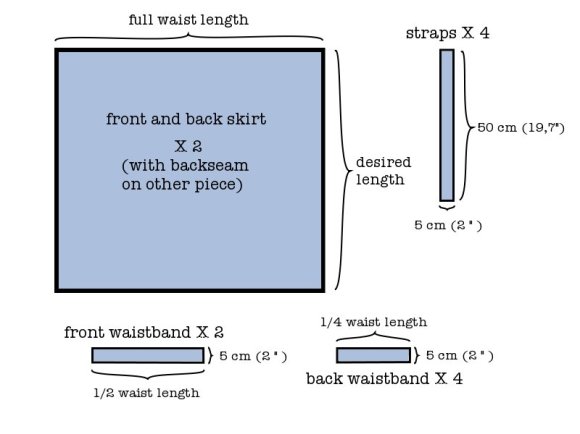
So, here’s what you’re going to cut out from the fabric (remember to add seam allowance though):

Add a little more seam allowance to the sides of the back piece than to the front one, since it will have a seam in the center (or slightly to the side if you go asymmetrical like me). If you’re cutting the front and back pieces at the same time, from a double layer of fabric, remember to cut the back piece in half afterwards.

Construction:

Start by sewing and turning the straps as shown below.

Next, pin and sew two of the back waistband pieces to the pack pieces like so:

Then do the same with one of the front waistband pieces and the front piece:

After this, pin and sew the back and front together, but don’t do anything to the side seams at this point. And remember, when you eventually turn the skirt, you’ll have to snip a bit at the corners next to the waistband to get the thing turned nice and neat.

Next, sew the side seams, making sure that the straps are sandwiched between the front and back pieces.

Then, sew in the zipper. I used an invisible zipper presser foot to sew in my zip — something I’ve never used before, but it worked phenomenally well. After sewing in the zipper, sew up the rest of the back seam (unless your using a normal zipper, then I guess you can do it in the order you prefer).

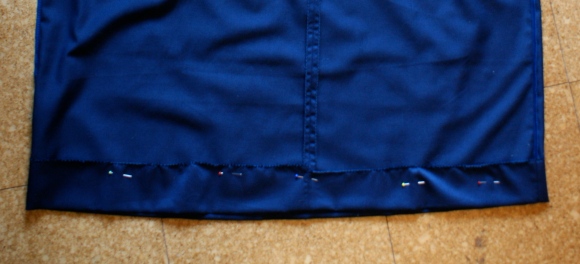
Now pin and hem the hem (man that sounds silly).

Sew together the remaining waist band pieces, and then pin and sew them to the waistband already attached to the skirt, right sides together. Turn and iron down, making sure that the area around the zipper is nice and neat. After this, hand stitch the turned waistband to the skirt, along the seam where my thumb is on in the pic below:

Now just iron the finished skirt and you’re done! Yay! I hope my instructions weren’t to complicated :)

Happy sewing!

Tagged , , ,