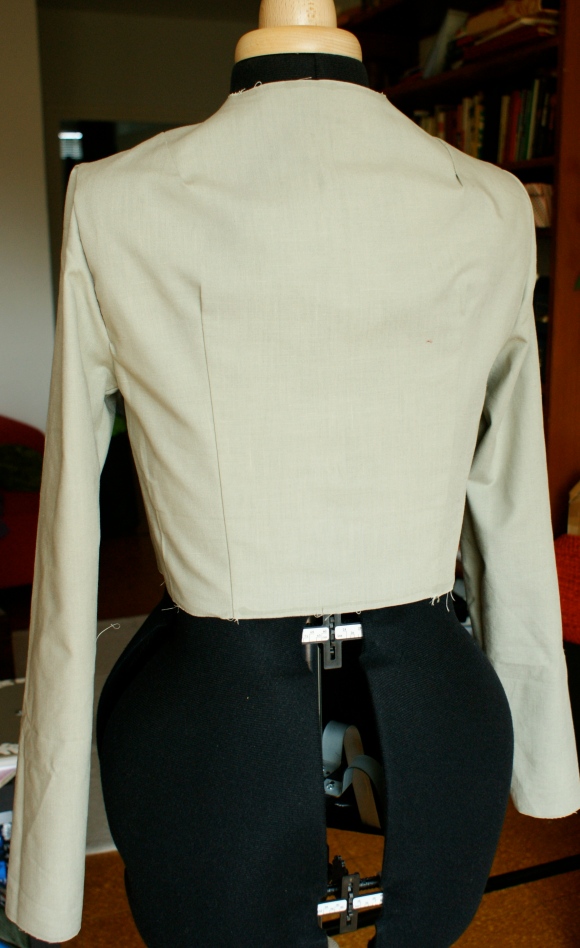
Tag Archives: shirt

School Projects: The Button-up Shirt

IMG_9140

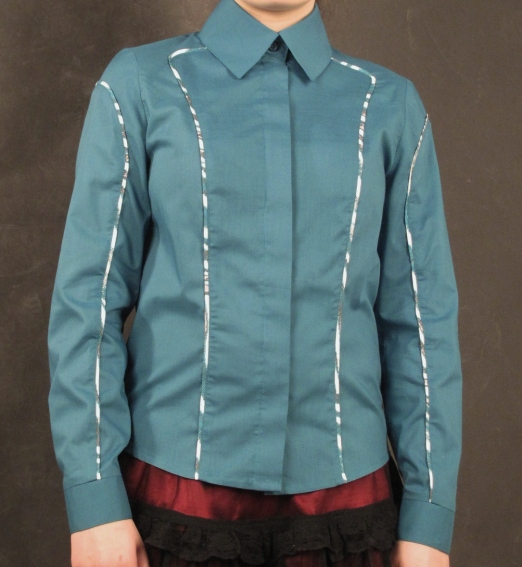
We had a project at school where we had to design and make a shirt/blouse based on sketches by an entrepreneur who’s collaborating with our school. The sketches contained the basic idea for the shirt (some of them were very vague), but there was still room for creativity.

IMG_9135

The sketch I got was pretty similar to the finished product, but I did come up with some things myself, like the bias tape between the curvy seams — and I altered the sleeves by making them long (in the sketch they were t-shirt sleeves) and adding the curved seam. Truthfully the sketch I got to work with was pretty clear, and I liked the design, so there wasn’t really much to change. In a way it was refreshing to work on something designed by someone other than me, since even though I liked the look of the shirt, I probably would have done something very different on my own.

IMG_9139

IMG_9141

IMG_9143

The curved seams decorating the shirt were my favourite part of making this blouse, though at first I was worried that they would be too difficult, and would ultimately lead to swearing and disappointment. They really were pretty tough to pull off neatly, but in the end I felt like I learned a lot from making them (I would even want to make something with similar seams again). Bias tape never fails to amaze me, as silly as it may sound, and I love steaming it into curves and seeing how effortlessly it can be molded into almost any shape.

IMG_9138

– Sadie

Tagged , , , ,

Vintagey shirts!

Oh Summer!

Here in Finland it’s short, and mostly not-super-warm, but I love it all the same! And today is the longest day of the year, so the sun will probably only set for a few hours (up in Lapland it really shines all day and night during summer).

But yeah, because of this summer thing, I’ve been a bit lazy. But now I have something to share with you again:


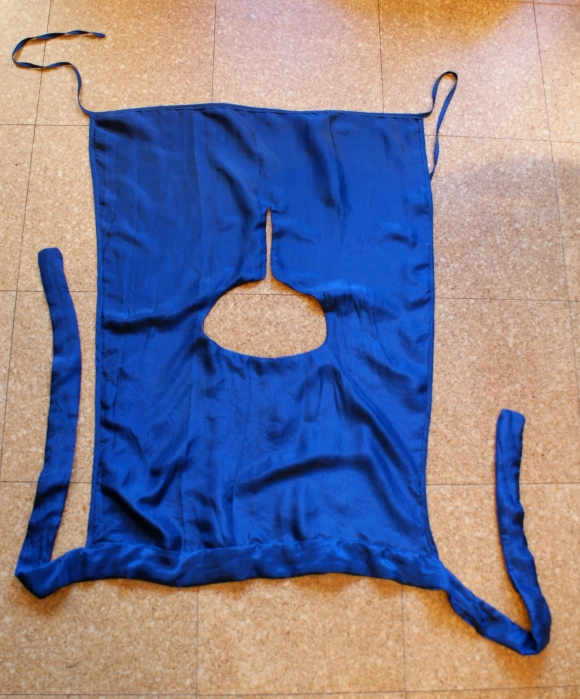
I made this shirt based on this post on Freshly Given, since I instantly fell in love with the simplicity of the pattern.

It’s basically just a rectangle with some straps and a neck hole:

The fabric I got from my lovely boyfriend’s lovely mother. She works at a local theatre, and this gorgeously delicate blue silk was used on stage, probably as a backdrop of some kind, so I got at least 6×6 metres of the stuff! It will feature in many of my future posts, I think.


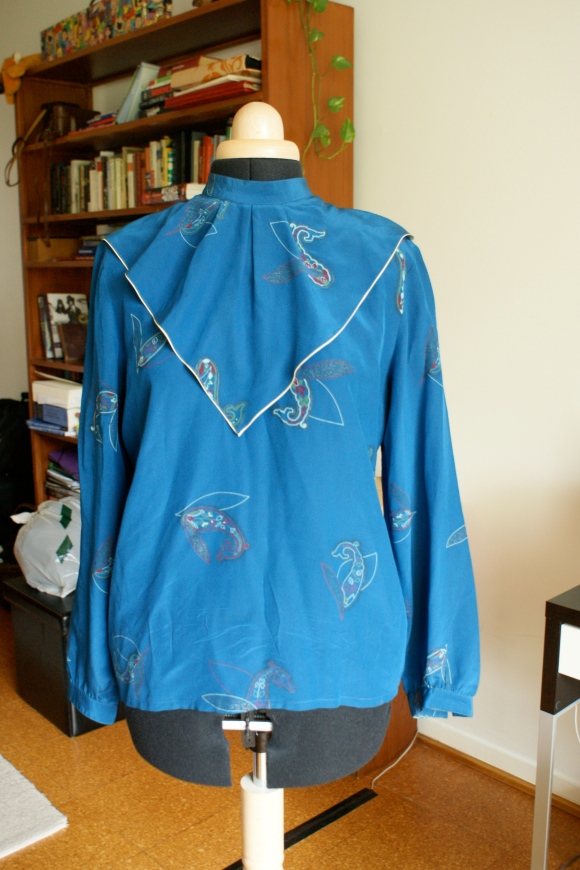
Shirt number two is an upcycle of a blouse I’ve had in my closet for years now — made of the most wonderful fabric, but just not a very flattering garment.

Here’s the original blouse:

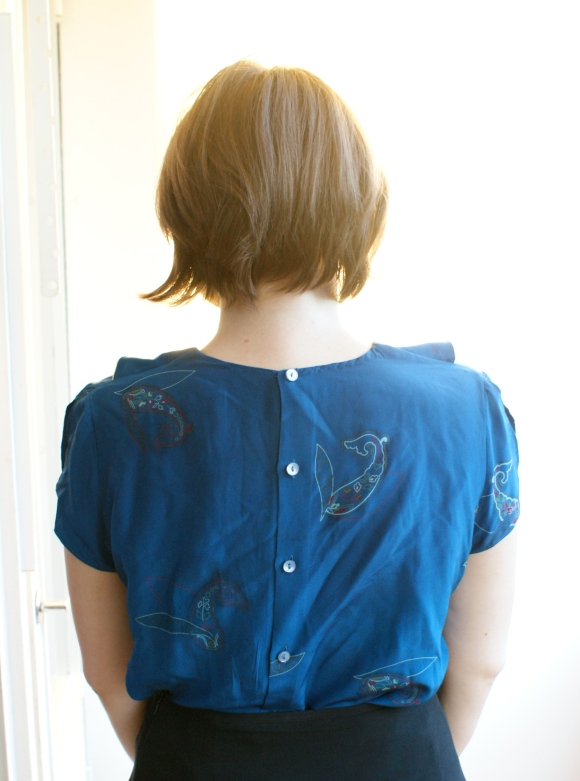
And here’s what it became:

(Sorry for the lack of ironing — as I said, I get lazy in the summer)

The only things I changed were the neckline and the sleeves. It’s not perfect, but at least it’s pretty darn cute.

Have  a nice midsummer (or Hyvää Juhannusta in Finnish), if you’re celebrating it. :)

And here’s a piece of summer in eastern Helsinki for you:


Tagged , , , ,

A Top And Some Pattern Drafting

Firstly, a kimono-style top I made the other day:

I used pattern 120 from Burda 05/2008. The fabric was a little too stretchy, so the end result is slightly bigger than I intended. Also, I just can’t seem to be able to sew double-needle top-stitches straight! Argh!

But I like how it turned out, especially how it’s the most comfortable piece of clothing ever!


I also drafted my first basic bodice block and sleeve block using the instructions from a book I bought called Pattern Cutting by Dennic Chunman Lo.

Here are the pattern pieces:

And here’s the toile:


The fabric I used for the toile was too stiff, I was a bit lazy with the sewing, the sleeves came out a bit too tight — but I’m still really pleased with the result. I’m so excited about making my own patterns!

Tagged , , , , ,

Salmon Coloured Shirt Tutorial

In my first ever blog post, I had a couple of self-drafted shirts that people seemed to like. So I will attempt to explain how you can make one yourself.


Patterns

Start with the back piece, as the front piece is almost identical to it.


There’s only one real body measurement that you’ll need for this shirt, and that’s your hip measurement. Everything else depends on your personal preferences. I’ll use my own measurements as an example.

– Start by dividing your hip measurement in four. If you want a looser shirt, you can use a measurement slightly larger than your hip. Draw a straight line with that measurement on whatever paper you choose to make your patterns out of. My line was 25 cm (9,8″).

– Next, decide what length you want you shirt to be. this is probably best decided by measuring from your armpit, so basically from where the armhole would start. My shirt was 41 cm (~ 16″) long measured like this. Now draw this line from your first line like in the diagram above.

– Next decide your back length. This will probably depend a bit on how long your back is, but then again the shirt is quite loose, so I wouldn’t worry too much. My back length was exactly 20 cm longer than the measurement from the armpit, so that’s 61 cm (24″) long in total.

– Decide how wide you want your neckline and sleeve to be. My neckline was like a boatneck, so it was 30 cm (11,8″) wide, so that’s 15 cm (5,9″) on the pattern. Draw it so that it curves upwards slightly, the starting point of the sleeve being about 2 cm (~0,8″) higher than where the back line ended. Next draw the sleeve. My sleeve was 18 cm (7″) wide. The line is completely straight, parallel with the “1/4 of hip” -line. Now just draw a slightly curved line from where the sleeve ends to where your “shirt length from armpit” -line begins. Your pattern for the back piece of the shirt is now finished, and hopefully looks something like the diagram above.


Next, the front piece:

– All the measurements except the back length are the same as in the pattern for the back piece. So basically you can copy the back piece up until the armpit, then add four times your desired pleat-width to you original back length. Draw this line, and copy the top of the pattern from the back piece. Now draw a line connecting the sleeve to the armpit, and your done. My pleats were 2 cm (~0,8″) wide, so the center front of my front piece is exactly 8 cm (~3,1″) longer than the center back of my back piece. Mark your pleats according to the diagram, where the …… -lines mark the peak of the pleat, and the _ . _ . _ -lines are the ones that should be sewn together, as shown by the arrows in the diagram.

Construction

After finishing  off the edges of the two pieces, start constructing the shirt by making the pleats. It’s probably easiest to pin them down and iron them before sewing. Remember not to sew the pleats all the way! The sleeves should be left pretty much open, so only sew the center portions, which is approximately the width of the neckline + 3 cm (~1,2″) on both sides. When you’re done with the pleats they should look something like this from the inside:
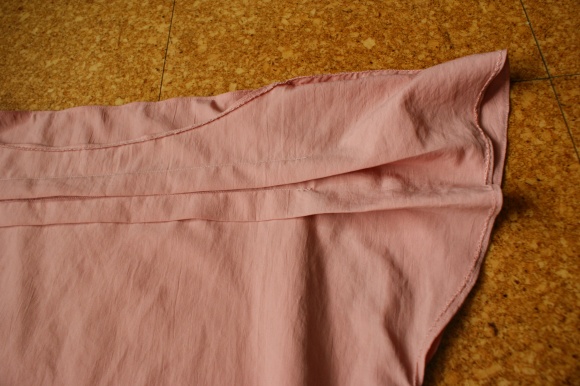
After the pleats are done, the rest is easy. Just sew the sides and shoulders together (right sides together, of course) and finish off the openings how you like.

I recommend using light fabrics for this shirt, as they show off the sleeves best. Something see-through could be awesome as well. You’ll need about 1-1,5 m (1,09-1,6 yds) of fabric, depending on whether you choose to cut the back piece on fold or not (and also on the width of the fabric).

So, I hope this makes any sense to anyone. Please bare in mind that I’ve always been rubbish at explaining stuff to others, so I’m really doing the best that I can. Feel free to ask any questions though :)


Tagged , , , ,