Strangely Enough, My Final Post

Hi!

So, instead of doing a year-end review, I’m doing an end-end-thing. This will be a much more personal blog post than usually, but I want to give some sort of explanation before I stop posting here all together.

I’ve been very busy this past autumn, and as usual this means that I’ve been a very bad blogger. But to be quite honest, I’m not sure if I ever have been a very good blogger. I wanted to, that’s for sure, but I could never find the time or the bother to be the eagerly-and-often-posting-tutorial-making-every-single-detail-explaining-blogger I wanted to be. And in a way that’s maybe just not me.

At heart I’m very much a minimalist. Whenever I write fiction, it’s fiction condensed to its shortest form, as my dear sister from Such Wanderings will know. So really, I’m just not suited for long and detailed explanations about what I did and how (she said, while explaining in detail).

This past year has been awesome, and I fully intend for the new one to be just as great, if not better. Possibly the biggest reason for why this autumn has been both exciting and exhausting (and why I haven’t been blogging much at all) is that, as part of our studies, me and a classmate of mine started a small clothing company, called Roina Clothing. You can check out our facebook page here.

Needless to say, we still have a lot to do (webshop, marketing etc. etc.), but still, superyay! This project explores many of the things that have sparked my interest over the years, the biggest one being the issue of ecological clothing, which is very close to my heart.

So, I hope you understand a bit better why I’ve decided to stop posting on Sadie The Sewing Machine. We all need to decide where to direct our ambitions, and blogging is not mine. I will however, start an online portfolio of sorts somewhere (will post a link when I’m ready). So if you want to know what I’m up to, sewing-wise, you can head there. And I will keep stalking around wordpress as a reader of blogs, same as usual. Maybe I’ll even get back into blogging at some point in the future, who knows.

But for now, thank you so much for reading, commenting and liking over the years, and a happy new year to you!


– Sadie


Tagged , , ,

Trousers!

Readers! Something shocking has happened! I’ve started wearing trousers!

Now, to the average modern person, that sounds like a pretty silly statement, but I’ve been going with “trousers only when absolutely necessary” for probably close to five years. Mostly because finding ready-made trousers that were comfy and nice looking seems to be an impossible feat for me (especially since my trouser preferences are permanently stuck in the fifties), and even patterns have failed me before (probably would’ve been OK with tons of adjustments, but that was before I knew what adjustments to make), so I just sort of gave up on trousers all together.

But then I drafted a trouser pattern with my own measurements at school, and WOW! It’s quite a tricky pattern to draw, as basic blocks go, but boy was it worth it. So I went ahead and modified that pattern a bit to fit my desired level of comfiness, and made a pair of vintagey trousers, and a pair of overalls. These pictures are old, taken at the start of the summer (right now it’s cold, dark and wet again), but especially the black pair I’ve been wearing a ton! They have really become a wardrobe staple for me. But enough rambling, and off to the pictures, which were taken by my classmate Elena. Also, I apologize for all the squinting, but my eyes and sunlight don’t go well together.

OLYMPUS DIGITAL CAMERA

Sometimes I attempt actual poses.

OLYMPUS DIGITAL CAMERA OLYMPUS DIGITAL CAMERA

The first pair are made from a black wool blend (though mostly polyester, since they were difficult to iron). I was going for a bit of a pedal pusher look, but made them quite loose for the sake of, once again, comfiness. I also lowered the crotch seam about 1,5cm. They have slanted single-welt pockets on the front, and the trousers are fully lined (!) because I’m all for a bit of everyday luxury.

OLYMPUS DIGITAL CAMERA OLYMPUS DIGITAL CAMERA OLYMPUS DIGITAL CAMERA

The overalls were inspired by women’s wartime working outfits, you know, like this classic pic:

wecandoit

They are made with the same basic pattern as the black trousers, but a bit wider and with the obvious overalls additions, flaps and straps and such. Very comfy and practical.


Yay!

– Sadie


Tagged , , , , , , , ,

Tutorial: Padding a Dress form

SONY DSC


Hi!

I promised some friends I would do a tutorial on padding a dress form to modify its measurements (and make it softer) , so here it is in all its glory!
This is a style of padding that is adjustable, so changing the dress form to a client’s/friend’s measurements will be simpler.

What you need:

A dress form (either adjustable or solid)

around 90 cm (1 yard) four way stretch lycra/spandex

polyester wadding

cotton/viscose wadding

pins

measurements of the body you are imitating


1. Make the cover

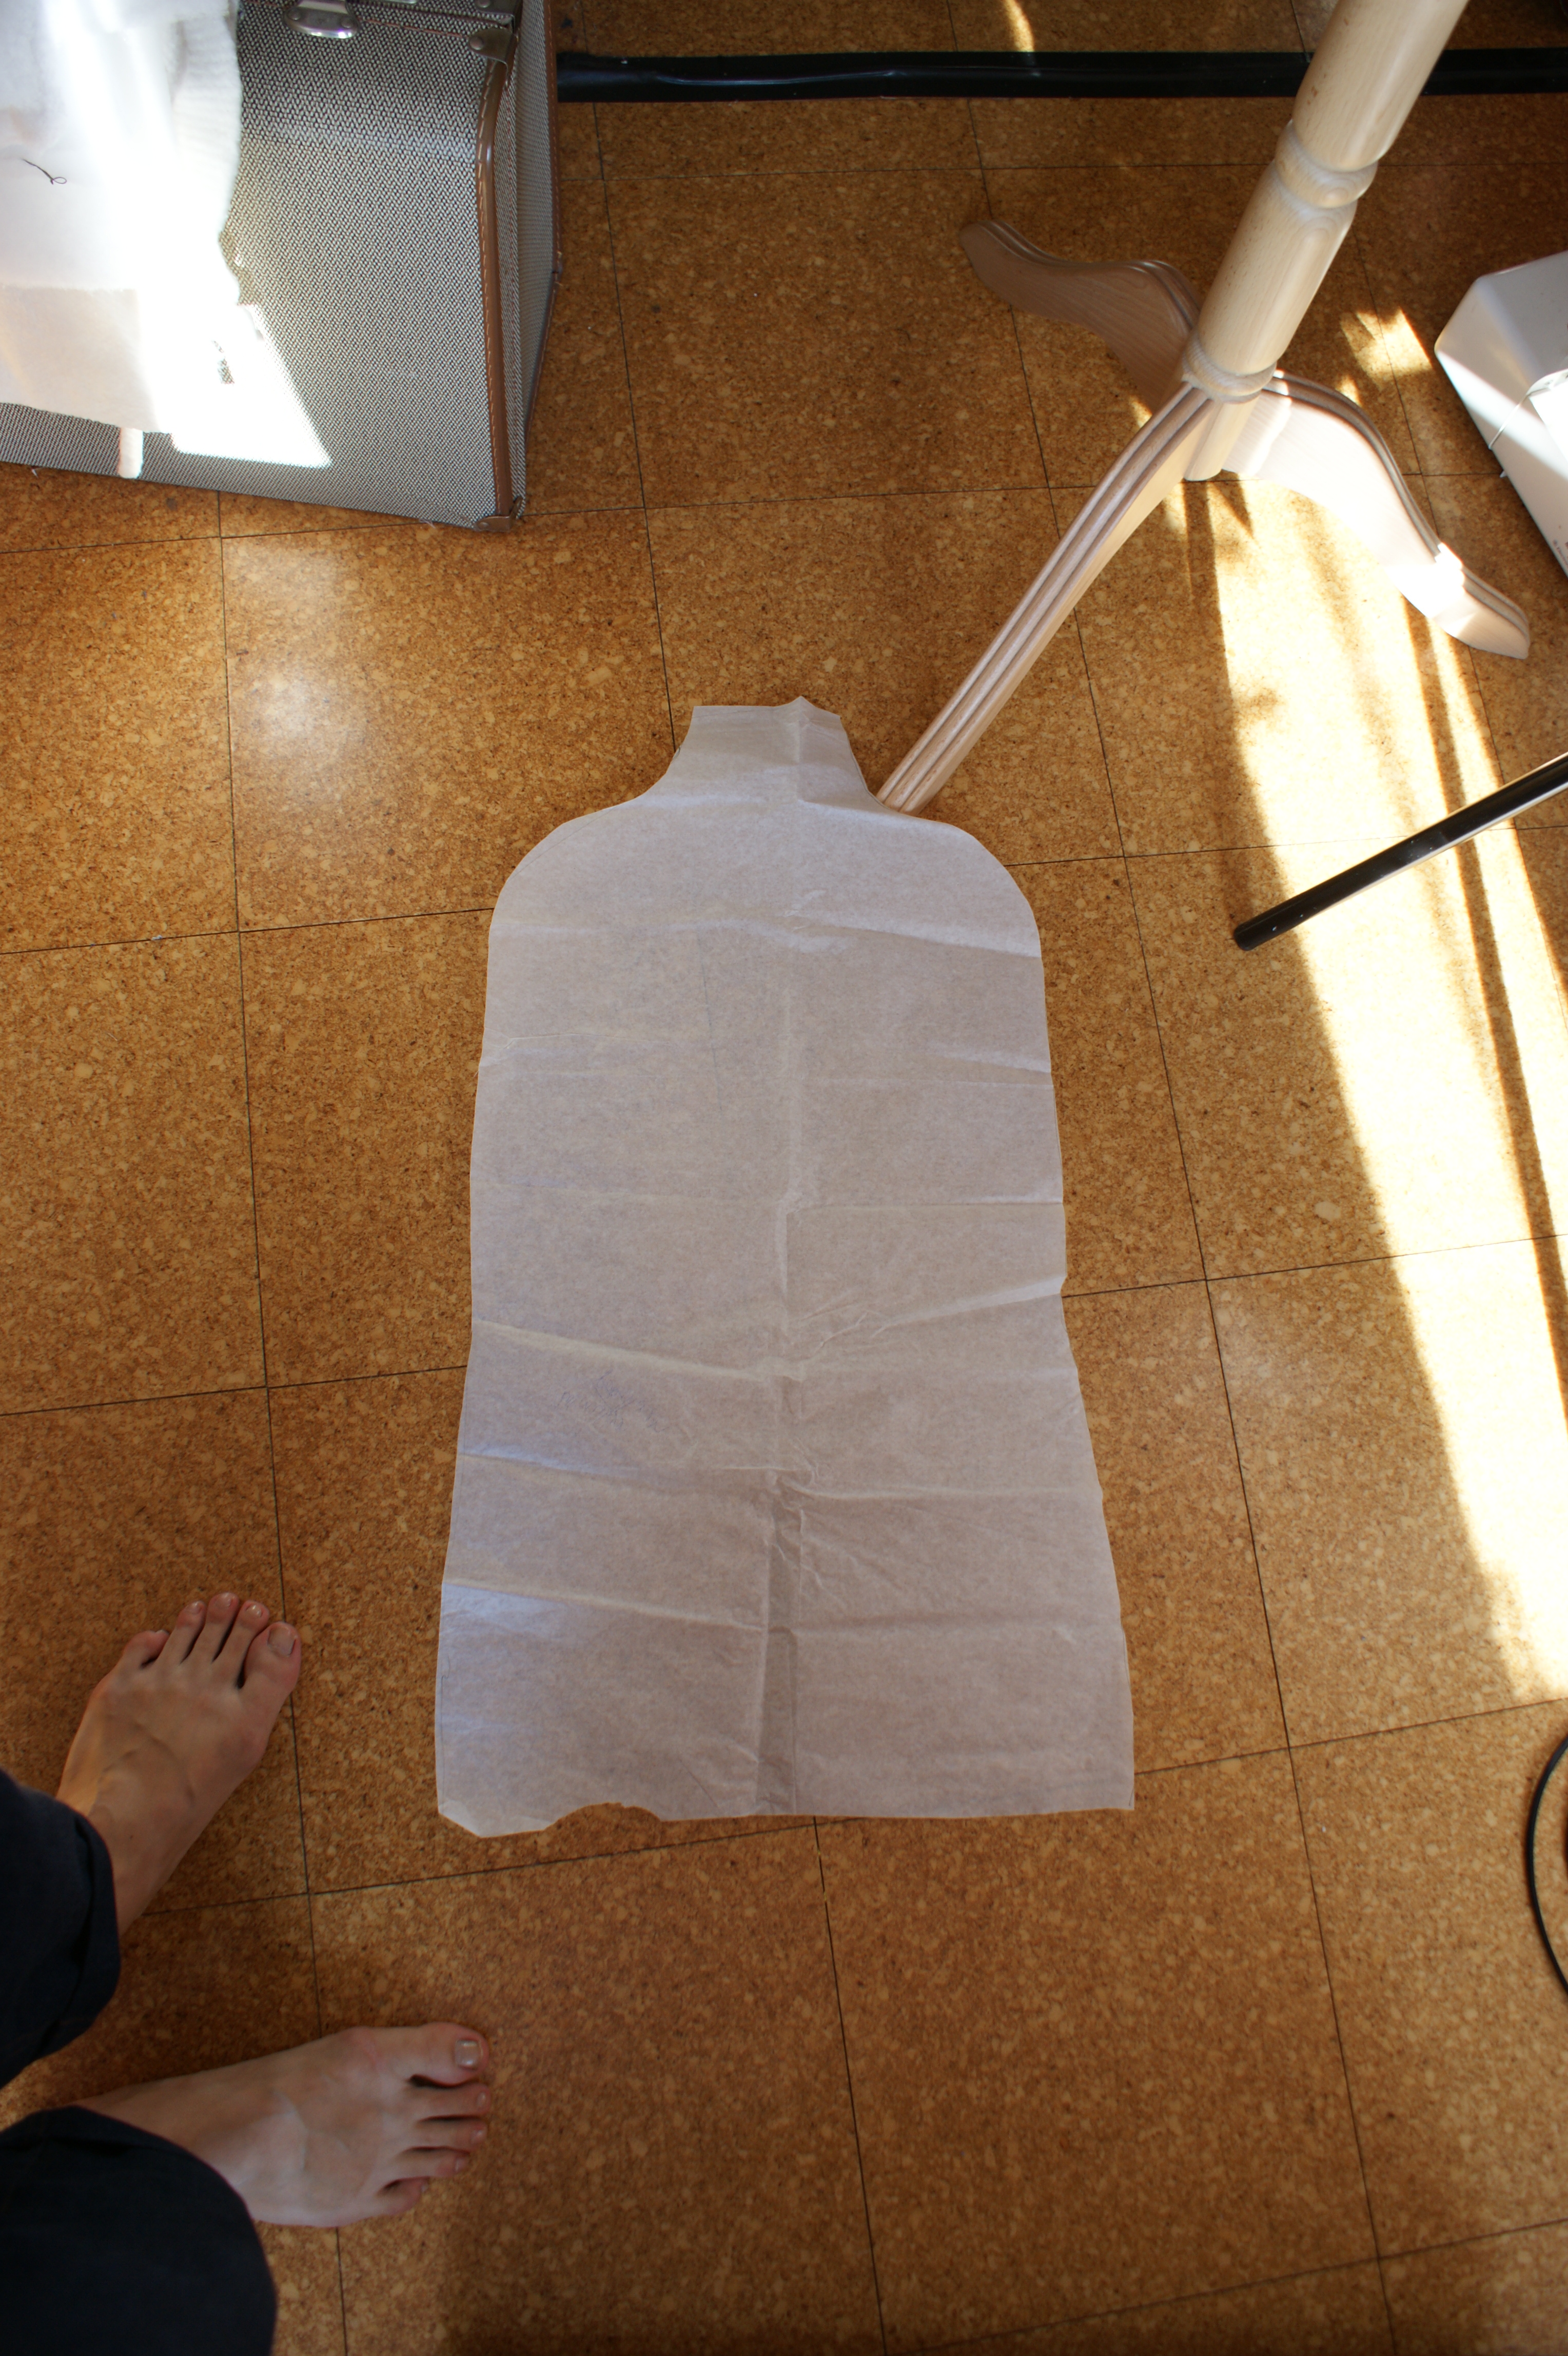
the first step is to make the lycra cover that will smooth out the wadding. I used a pattern I got from the seamstress I was interning for in the spring, but the pattern is not really very exact. As long as you have sort of a torso form that is slightly tight on your dress form (easiest to do by sewing up and then  fitting and adjusting on the doll) you should be fine.


SONY DSC

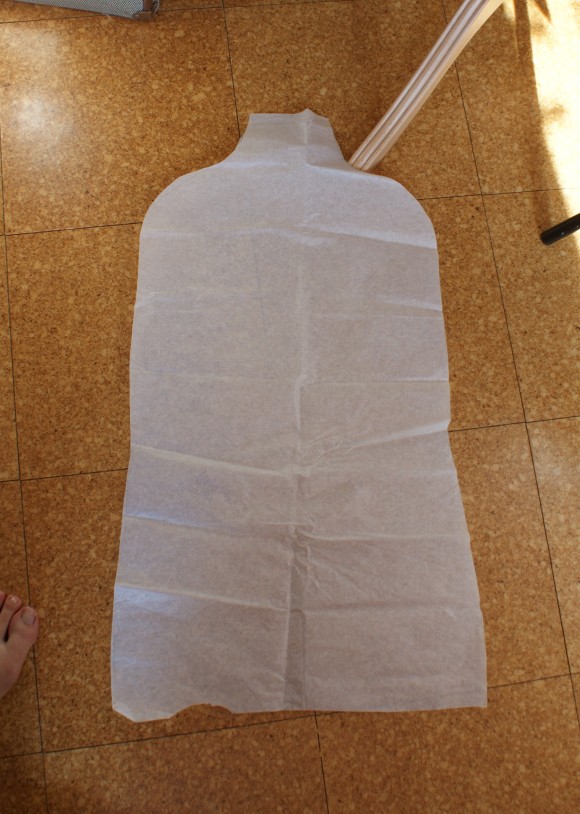
this is what my pattern looked like. It could’ve been made a little tighter at the waist though, but that’s not such a big problem.


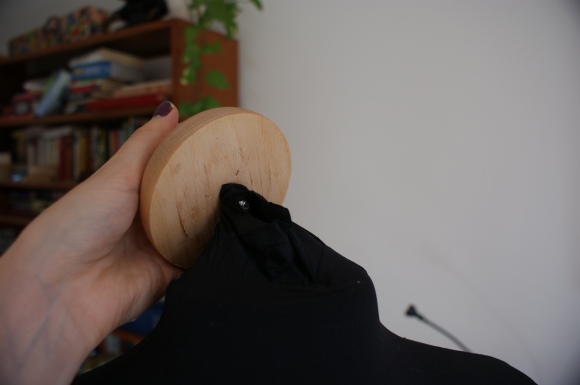
After you’ve finished your cover and are satisfied with the fit, pull it on your dress form, and if possible, secure at the top. I did this by stuffing the extra neck fabric under the removable top of the dress form, but I’m not sure everyone has that option.


SONY DSC


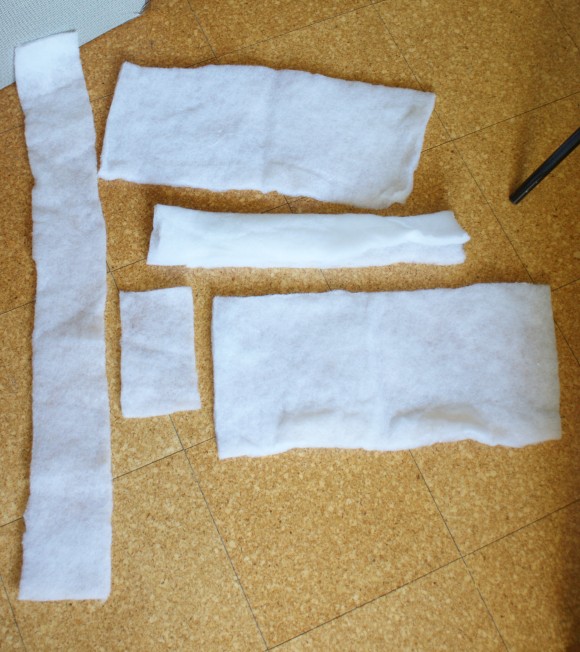
2. Prepare the wadding

I like to have my wadding in strips of various sizes, but experimenting with the shapes could be interesting. Circles, ovals, and such would probably make the padding more exact. You can also fold or roll the strips. The cotton wadding I like in bigger pieces, since it’s mostly meant to smooth out the edges.


SONY DSC


3. Get to the padding

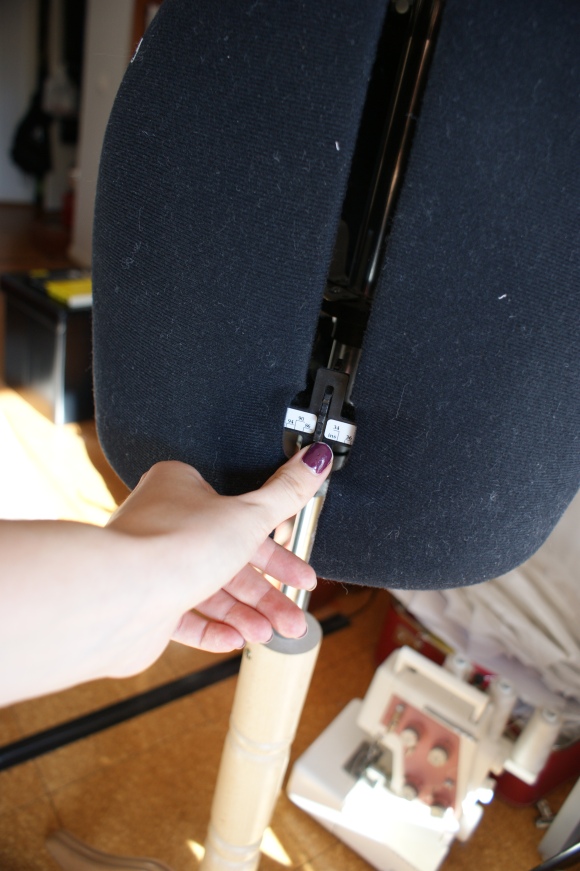
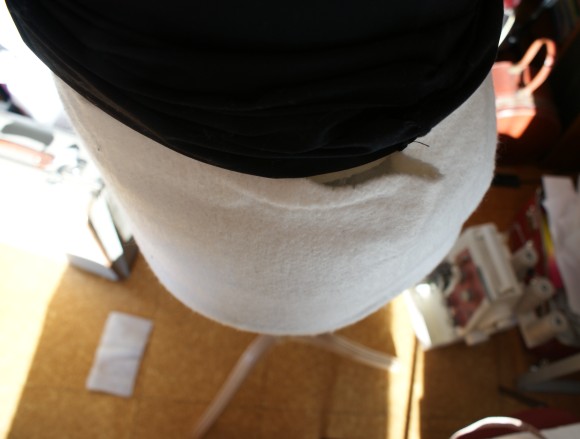
Finally, the actual padding. Roll the lycra cover all the way to the top like so.


SONY DSC


If you’re using an adjustable dress form, like me, set it to the approximate shape that you want, but leave some room for the wadding. I usually leave the dress form measurements around 5-10 cm (2-4″) short of the finished measurements. If you’re using a solid one, you might need some more wadding, depending on the size you’re going for, and the original size of your dress form.


SONY DSC


I like to begin the padding from the top, and then move downwards. So start adding some wadding (heh) to the bust area (and/or back, if it is particularly curved at the top).


SONY DSC


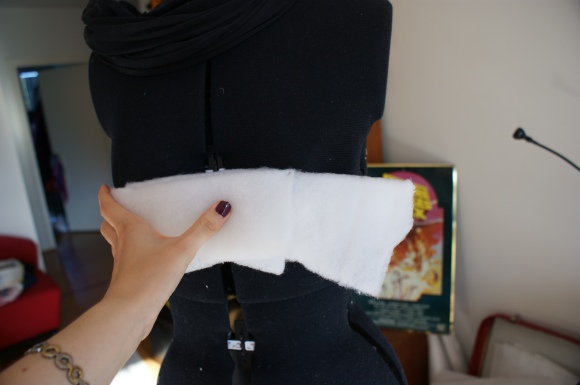
You can use pins, but make sure that you push the sharp ends as far as you can, so they won’t prick you when you’re working on the dress form later.

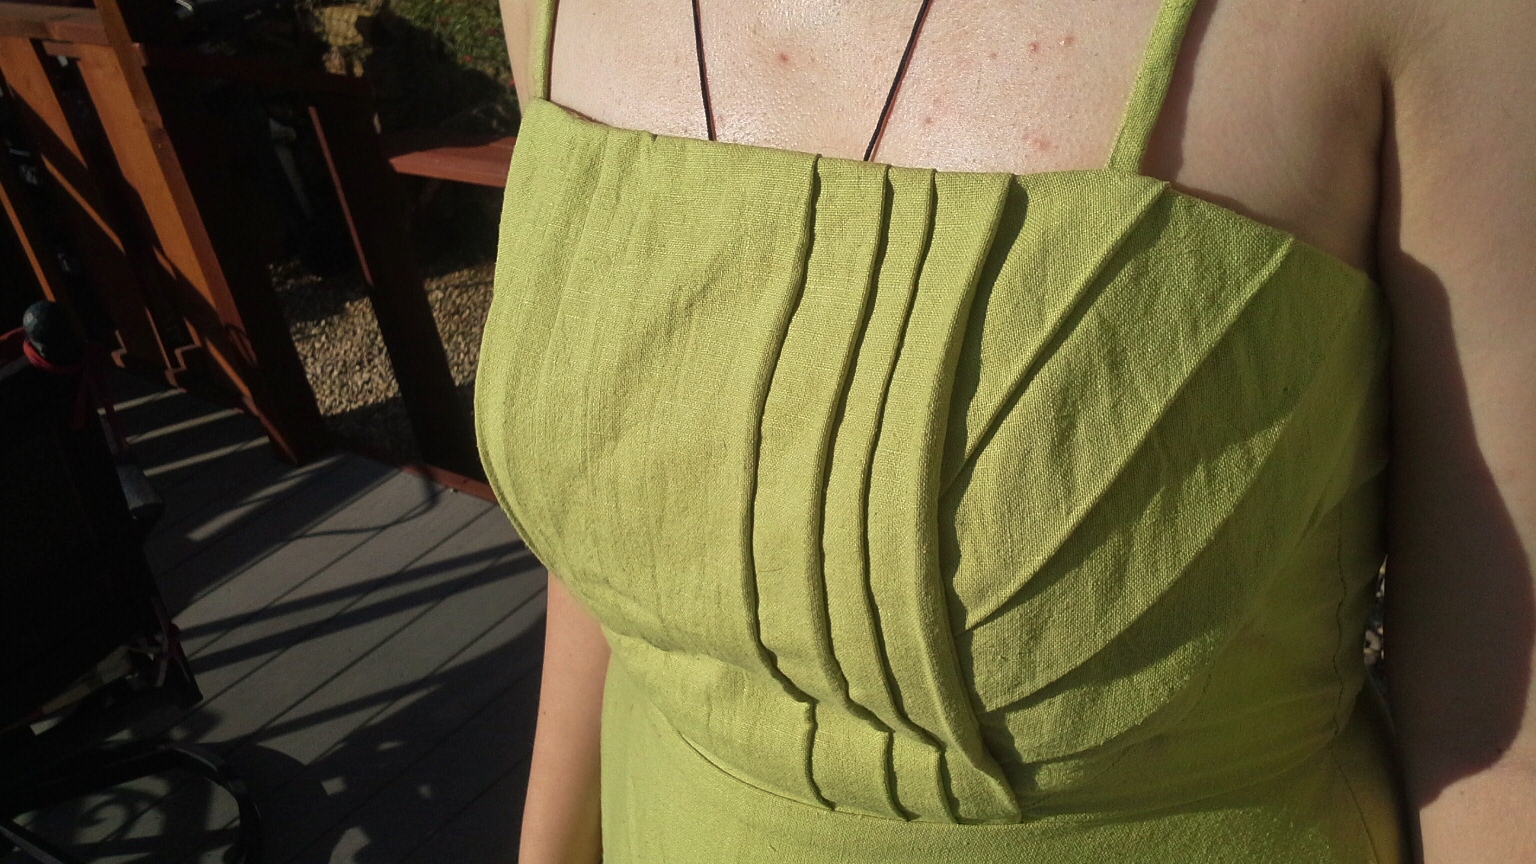
The perks of padding really come out with the bust area, I think, since here you can adjust one of the things that is always the same, even on an adjustable dress form — the apex, or bust point. Most dress forms seem to have considerable perky breasts, and since the apex is one of the key points of a good fit, this is really something you’ll want to adjust to a more realistic measurement. I do this by adding the wadding (heh) mostly under the apex of the dress form. If you want a more outlined breast form, you can always attach a bra of the correct cup size to your dress form, and stuff that with wadding, but I’ve never found this necessary.


SONY DSC

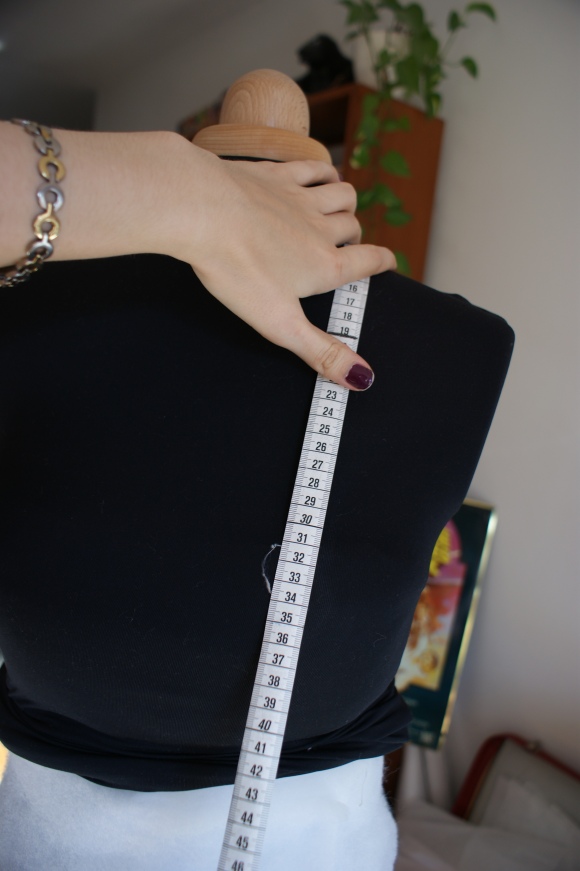
measuring the bust point


Measure only after you’ve pulled the cover on the area you’re working on (it may tighten the wadding a bit, thus making the measurement smaller than without the cover).


SONY DSC

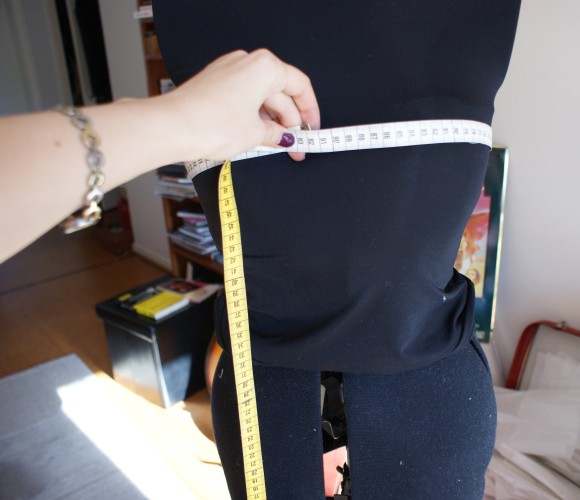
checking the bust measurement


When you’re satisfied with the shape and measurements of the bust, move on to the waist.

With the waist you should also keep in mind the shape of the body you’re imitating (big tummy/small tummy? Sway back?) and place the wadding in accordance with that.


SONY DSC

SONY DSC

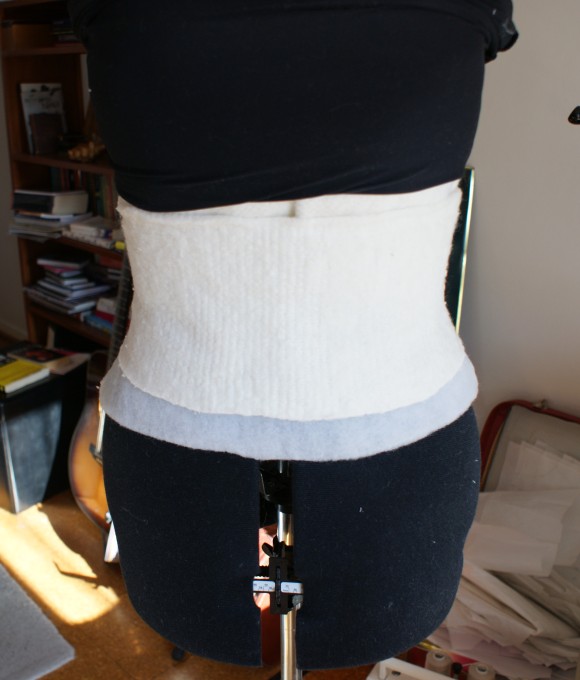
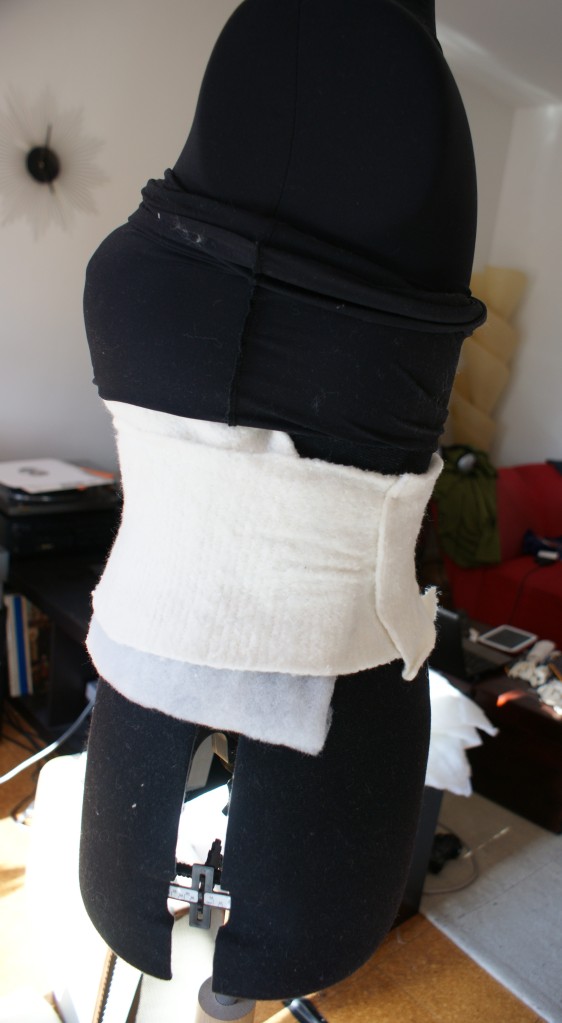
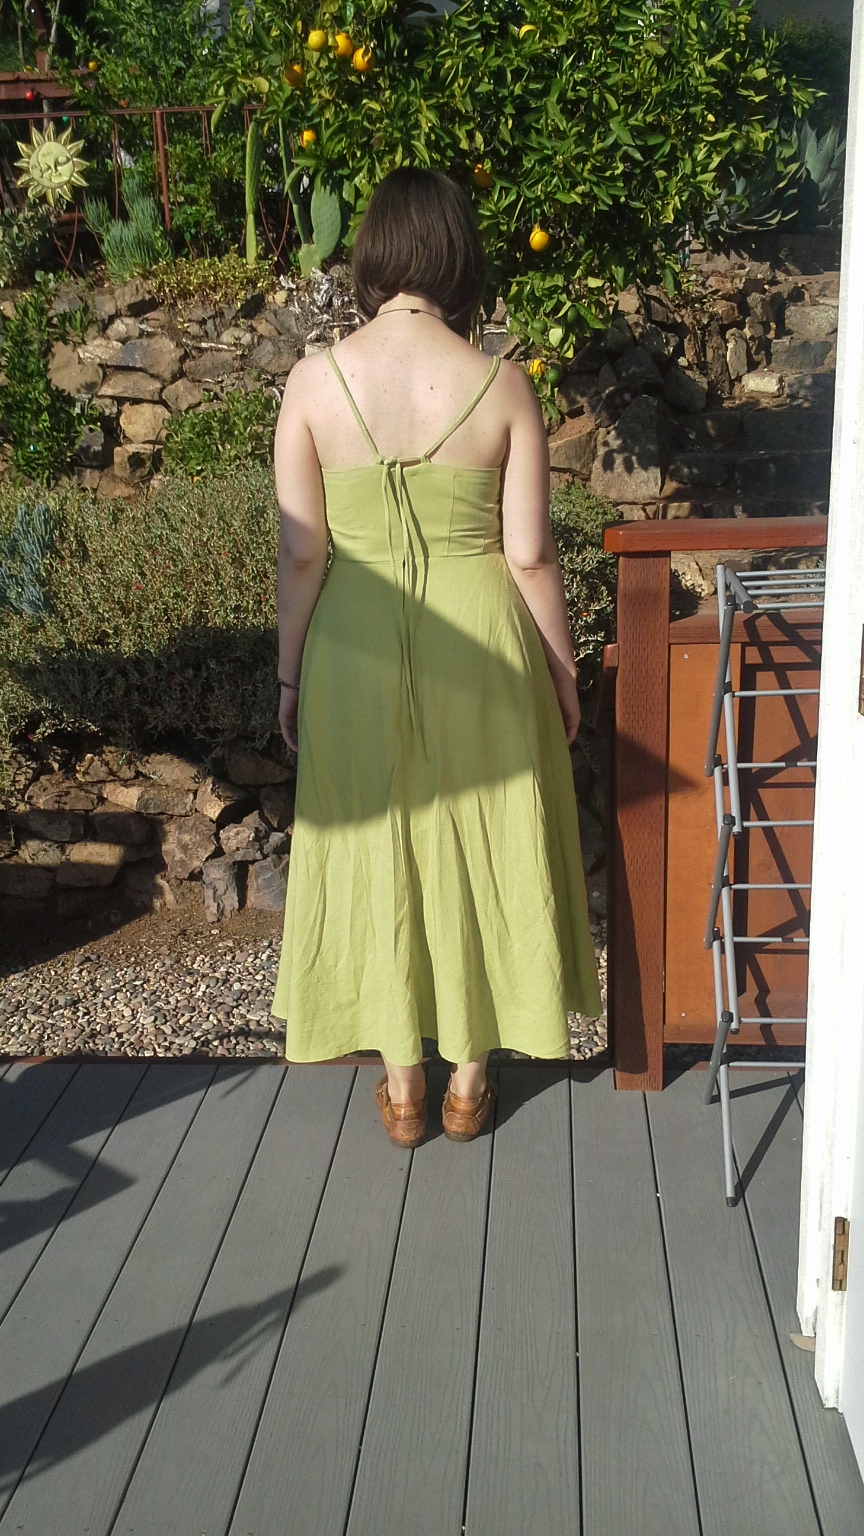
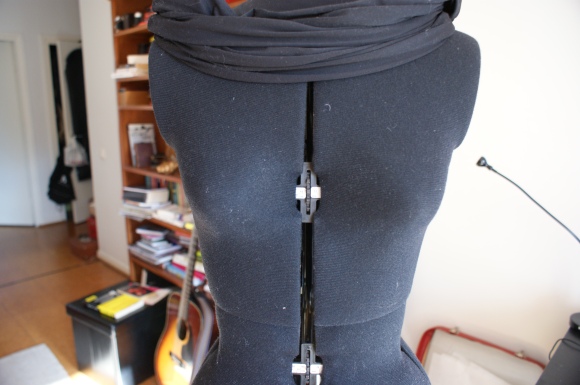
As you can see, there is polyester wadding only on the front, since this body (mine!) has a rather pronounced sway back. The cotton wadding goes all the way around just to smooth things out and keep everything in place.


Next up is the hip area. Same as with the waist, think about where you want the shape to be, and pad accordingly.


SONY DSC

SONY DSC

SONY DSC

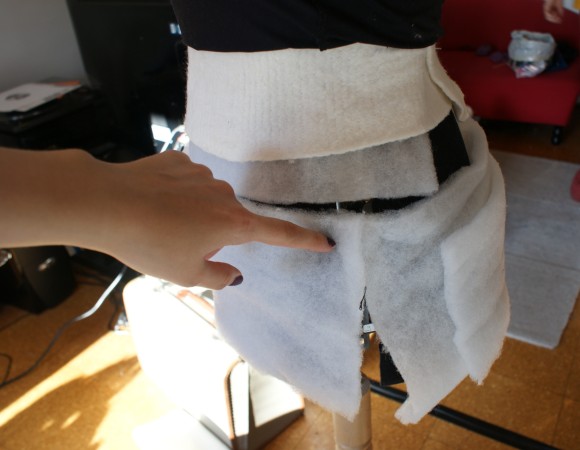
There might be some leftover fabric at the waist where a dart would desperately want to be, but you can just smooth that out towards the back and it should look fine.


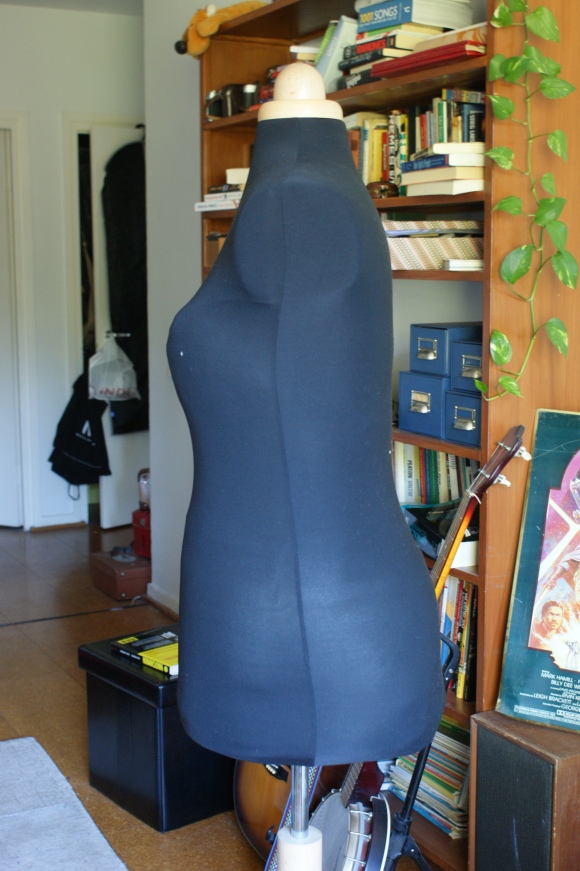
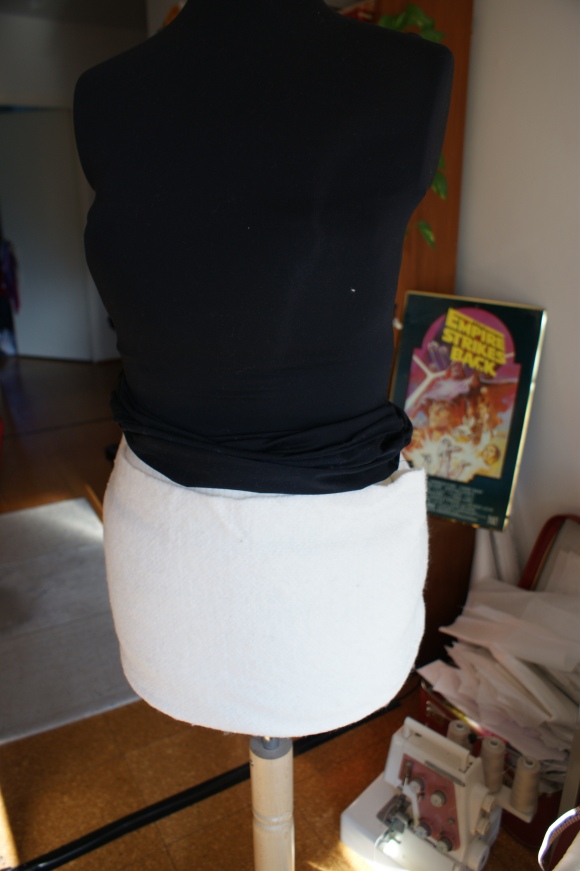
Now pull the cover over your wadding, smoothing everything out as best you can. Check all your measurements and the general shape, and you’re done!


SONY DSC SONY DSC


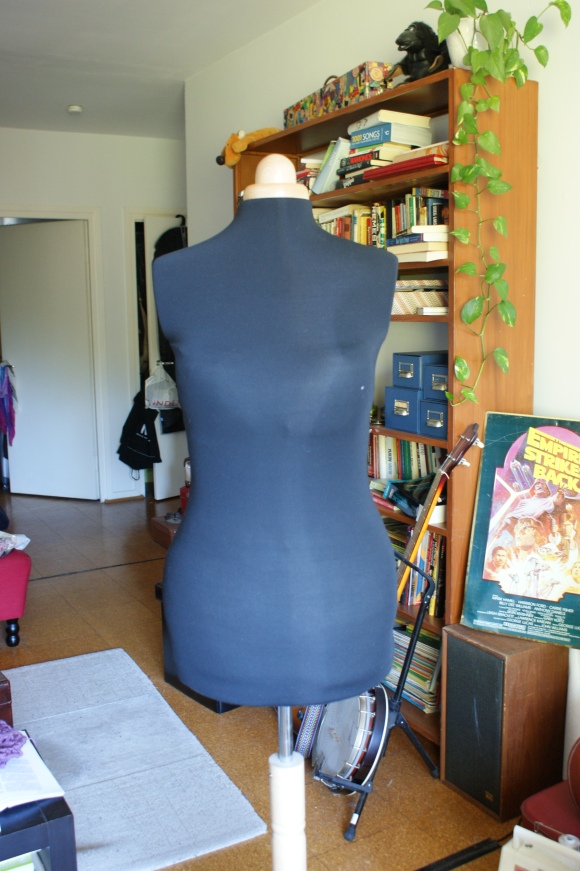
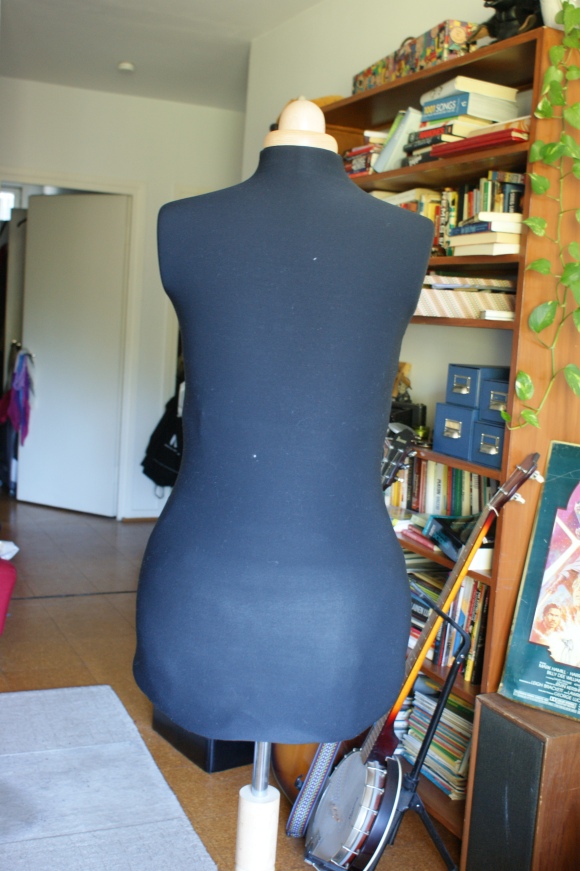
Now, the shape may not be completely smooth once you’re done, unless you were very precise with your wadding, but personally I don’t think it’s that important. We all have our lumps and bumps anyway, right? ;)


– Sadie

Tagged , , , , , ,

New Banner/Header!

So I made a new header for this blog. The grey one had been a bit bland to me for a long time, since the “grey phase” I had for a while has been gone for a looong time :D But now everything is new and fresh and I’m happy.

The background for the banner is a weird necklace/headband thing that I crocheted using a sort of popcorn stitch. I haven’t quite decided if I want to wear it or not, but I like the texture.

SONY DSC

I also considered using an embroidered flower I did on a kimono I made, but while taking photos of it I realized that I only ever teased that project, but never showed finished thing.

So here’s the kimono (been used as a dressing gown for a while now, so not really in prime-posting-condition, but…):

SONY DSC

I used the same tutorial as Catherine Daze, adjusted to my measurements. The fabric was less than ideal though, a bit too stretchy.

SONY DSC SONY DSC

The embroidery itself was based on something I found by googling “traditional Japanese embroidery” (seriously pretty stuff, by the way), or something along those lines. The end result was good, though in hindsight I can’t really think of why I decided to use so much time on something so everyday as a dressing gown :D But I suppose it was good practice, at least. I should do more embroidery anyway, it’s very relaxing.

– Sadie

Tagged , , , , , ,

(Almost) Maxi Dress

Hi!

I’ve wanted to make a maxi dress for a really long time, but haven’t been able to think up/find a pattern that would suit my needs. Simple, but not plain, neat, but not too festive, relaxed, but not too hippy-ie. Sometimes I’m hard to please. But finally, sitting on the couch at home, watching whatever, I came up with this simple dress with a pleated bodice, and knew that that was the one. Luckily I also found a half linen, half cotton bedsheet from the flee market for around 2 € to make it from, so all was good. Unfortunately I was so busy before leaving for the US that I didn’t even have time to take photos of said dress. But here it is now, complete with sunny California! Yay!

front

The skirt is a simple flared thing, nothing special. It was supposed to be full-maxi but I ran out of fabric. Oops.

back

The straps are tied at the back via two small loops, so they are easy to adjust in case they start stretching.

detail

The pleated bodice is lined with a plain version of the same pattern, but some of the pleats still stretch annoyingly, so I’ll have to do some sneaky stitches in there somewhere when I’m bothered enough.


It’s strange to look at these sunny and summery pics when Autumn is already well on the way here in Helsinki. Even though I’m not really a summer person (possibly weird?) I almost miss the sweltering heat of the sun in San Diego when I see it in photos.


– Sadie


Tagged , , , , , ,